


Wooden miter joint with the DOMINO

Description
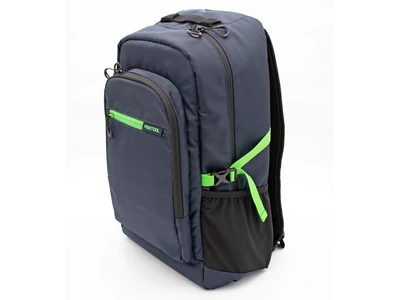
The following example uses a bench to show how these types of joints can be quickly and easily created using the DOMINO stop pins.
Tools/accessories


Alternative tools

Preparation/set-up
-
Before the mitred wooden joint can be created, the DOMINO joining machine must be set up:
- Our workpiece is 30 mm thick.
- We are processing dowels with 8 × 40 mm thickness.
- The mitre angle is 45°.
This necessitates the following settings on the joining machine:
- Set the routing height to the lowest height, 10 mm.
- The routing angle is 45° and the routing depth is half of the domino length, i.e. 20 mm.

-
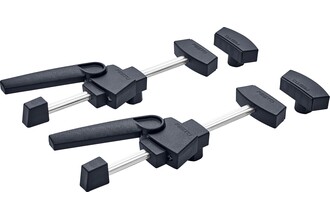
Use the stop pin system to select the hole distance based on the individual workpiece. In this example, we are working with the two centre pins to create a hole distance of 37 mm.


Procedure
-
After routing the first hole (the pin is positioned at the edge of the workpiece in this case), the pin moves into the routed hole, thus setting the next stop. Route the first hole with precision, and all other holes as slots with clearance.
Tip:
Marking the edges of the body helps you to quickly and reliably find the correct attachment point for the joining machine later on during machining.
-
This is where the unique domino slot principle comes in. The first hole, known as the locating hole, is routed appropriate to the selected DOMINO dowel diameter. Due to the domino in the locating hole, the joint aligns exactly with the front edge – the joint is correctly positioned. The remaining holes are routed as slots with clearance. This makes aligning and joining effortless; the joint is nevertheless exact, perfect and stable.

-
Then join the workpiece parts together, gluing the dowels carefully in the process. This process can be used to create mitre joints for smaller workpieces and frames as well. The DF 500 is better suited to smaller workpieces.

-
Tip:
For larger hole spacing, you can work with the cross stop both with the DF 500 and the DF 700.


-
Our illustrated guides and work results are documented working steps that we have performed in practice. They are individual examples and do not guarantee or promise that users will obtain the same results. The results will depend on the user's experience and skill, as well as the material being used. Illustrated guides do not replace any Festool operating manuals and/or safety instructions. Liability for ensuring that the information, instructions and applications are free from content defects and defects of title, in particular with regard to the absence of defects, correctness, freedom from third party intellectual property rights and copyrights, completeness and fitness for purpose, is excluded. Claims for damages made by the user, regardless of their legal basis, are excluded. These liability exclusions are not applicable if the damage was intentional or caused by gross negligence, or in cases of statutory liability.
We cannot accept liability for damage resulting from defects.↑