


Producing wooden joints: Milling beam connectors with a routing template and router

Description
Tools/accessories
Alternative tools
Preparation/set-up
-
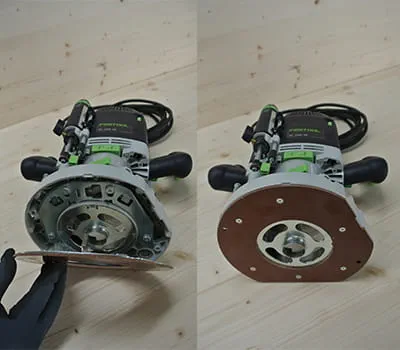
To rout the beam connectors, first fit the groove cutter and copying ring in the router. Alternatively, a different base runner can be used.
-
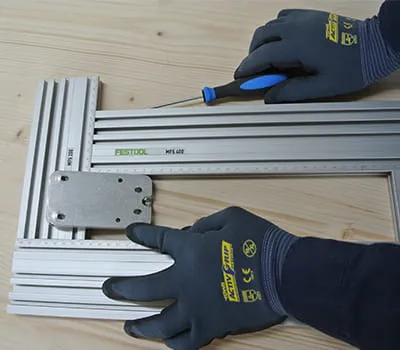
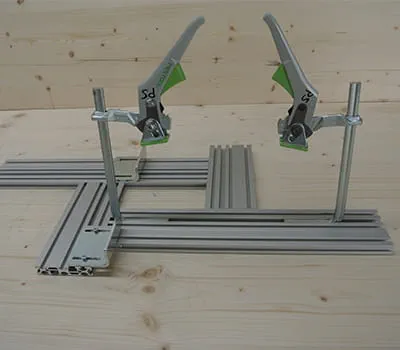
Adjust the multi-routing template to the width of the beam connector to be routed.
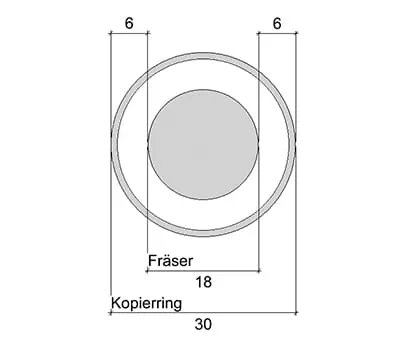
When working with the template: Connector width plus the difference between the copying ring diameter and cutter diameter. Here: 60 mm + (30 mm - 18 mm) = 72 mm.
-
Insert the connector into the template.
-
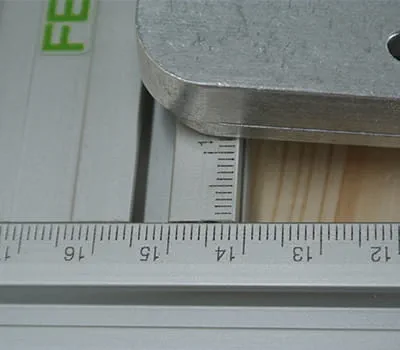
Add the connector width and difference (12 mm in this example), read off the routing template scale and secure it accordingly. The length of the routing template is calculated as the connector length plus approx. 30 mm. This additional length is required as it makes it easier to insert the cutter into the material.
-
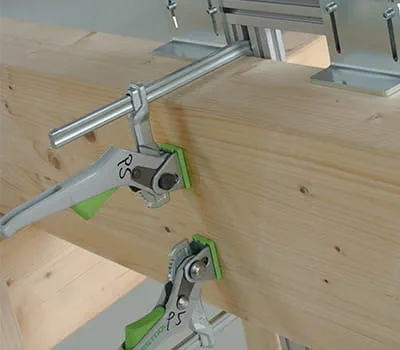
The two angle stops are fitted parallel to the width axis. It is easiest to adjust this setting directly on the workpiece. In this example, the narrow template edge must be 6 mm ((copying ring diameter - cutter diameter)/2 = ((30 mm - 18 mm)/2 = 6 mm) from the routing edge. Insert the two lever clamps in order to secure the template on the edge beam.
-
The template is now ready and can be placed on the axis mark on the edge beam in no time. After routing is complete, it can also be moved to the next position quickly.


Procedure
-
To create wooden joints, position the router and set the depth. After connecting the mobile dust extractor to the router, routing can now start.
To avoid the router tearing out of the material at the upper edge, we recommend routing briefly into the material on the right-hand side.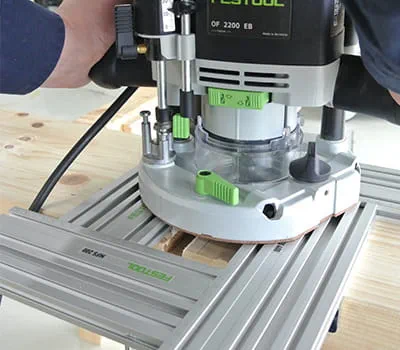
-
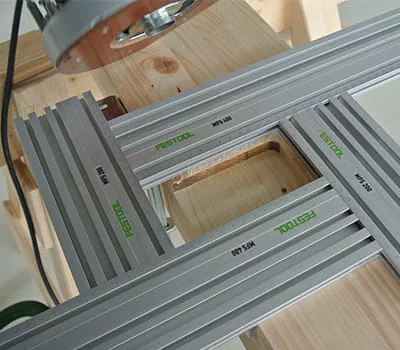
Next, remove the cutter and rout the wooden joints along the left-hand edge in a clockwise direction. Rout the interior of the material.
-
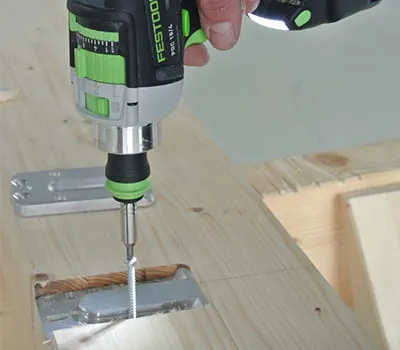
After routing the wooden joints, the connectors are assembled using suitable screws.
-
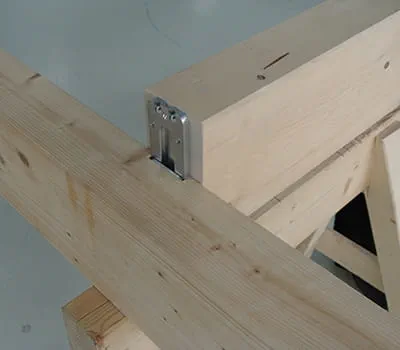
The Festool system makes it possible to produce flawless wooden joints. The result: Invisible beam joints, routed and assembled precisely, quickly and with excellent repeat accuracy.


-
Our illustrated guides and work results are documented working steps that we have performed in practice. They are individual examples and do not guarantee or promise that users will obtain the same results. The results will depend on the user's experience and skill, as well as the material being used. Illustrated guides do not replace any Festool operating manuals and/or safety instructions. Liability for ensuring that the information, instructions and applications are free from content defects and defects of title, in particular with regard to the absence of defects, correctness, freedom from third party intellectual property rights and copyrights, completeness and fitness for purpose, is excluded. Claims for damages made by the user, regardless of their legal basis, are excluded. These liability exclusions are not applicable if the damage was intentional or caused by gross negligence, or in cases of statutory liability.
We cannot accept liability for damage resulting from defects.↑