Routing grooves with the module edge router
Description
When doing so, excellent guiding and a clean cut by the machine are key to creating perfect results when routing.
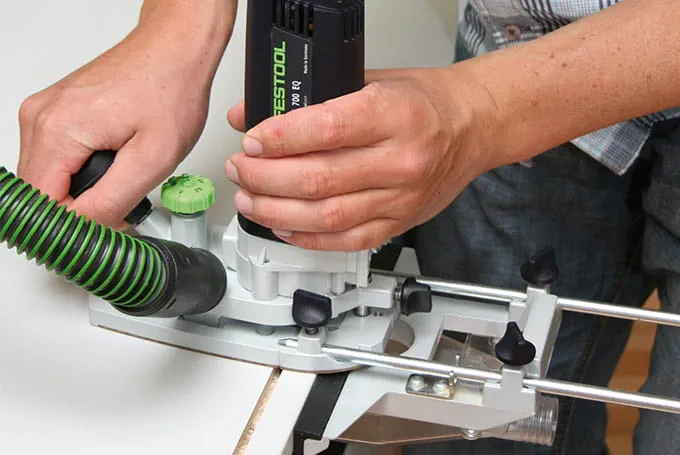
With the MFK module edge router, Festool provides users with everything they need to rout clean grooves quickly and easily. Thanks to the dust extraction system integrated in the router table, wood chips are transported away immediately, producing very little dirt.
Tools/accessories
Preparation/set-up
-
Before routing begins, the following preparatory work must be completed:
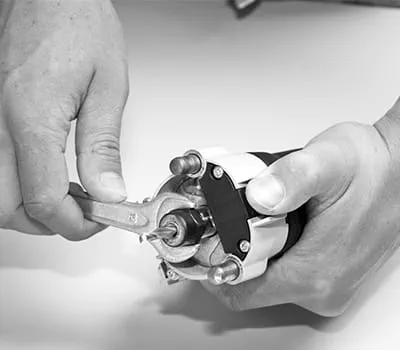
- Insert the cutter according to the instructions.
- Note:Always use a cutter with a groove length corresponding to the application.
-
Connecting the machine to the support table:
- Inserting machine into support table
- Tighten the black retaining screw on the left-hand side of the support table
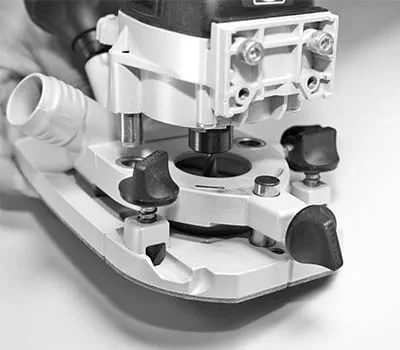
-
Adjusting the routing depth:
- Loosening the locking screw on the front and rear side of the support table
- Adjusting the routing depth using the green adjusting wheel
- Re-tightening the locking screw
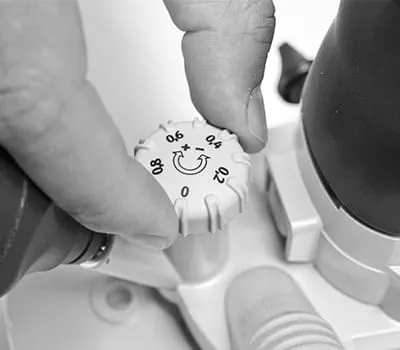
-
Attaching and adjusting the parallel side fence before routing the grooves:
- Insert the guide rods into the support table and secure using black screws
- Attach the parallel side fence to the guide rods and secure at the correct distance using retaining screws
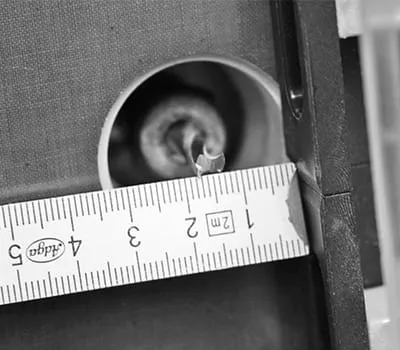
Procedure
-
The MFK module edge router is ideal for creating grooves for rear walls.
When routing the grooves, always ensure that the parallel side fence rests neatly on the edge.
Tip: As the router rotates clockwise in plan view, it is advisable to guide the router from left to right along the workpiece. The router thereby moves against the parallel side fence; this ensures that the groove remains on track.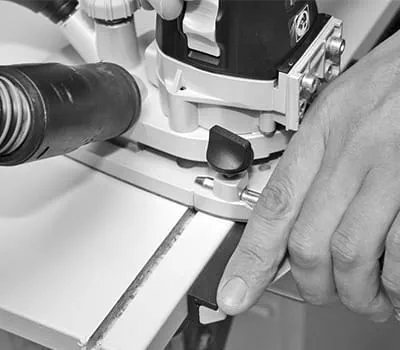
-
Our illustrated guides and work results are documented working steps that we have performed in practice. They are individual examples and do not guarantee or promise that users will obtain the same results. The results will depend on the user's experience and skill, as well as the material being used. Illustrated guides do not replace any Festool operating manuals and/or safety instructions. Liability for ensuring that the information, instructions and applications are free from content defects and defects of title, in particular with regard to the absence of defects, correctness, freedom from third party intellectual property rights and copyrights, completeness and fitness for purpose, is excluded. Claims for damages made by the user, regardless of their legal basis, are excluded. These liability exclusions are not applicable if the damage was intentional or caused by gross negligence, or in cases of statutory liability.
We cannot accept liability for damage resulting from defects.↑

