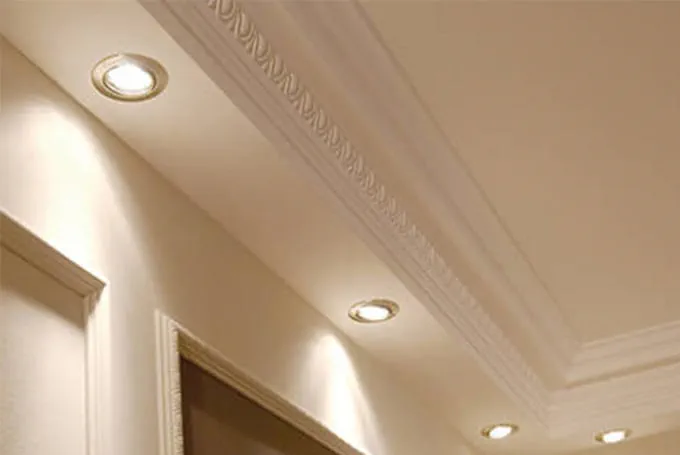
Sawing cornices and beading for ceilings

Description
Tools/accessories
Procedure
-
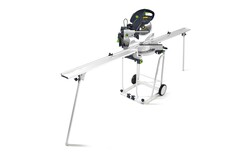
The KAPEX sliding compound mitre saw can be used to produce four different cross-sections, depending on the application.
The maximum dimensions for the profiles are limited to:- 88 x 305 mm with height dimension at 90° x width dimension at 90°
- 88 x 215 mm with height dimension at 90° x width dimension at 90° with height dimension at 90° x width dimension at 45°
- 55 x 305 mm with height dimension at 45° x width dimension at 90°
- 33/55 x 215 mm with height dimension at 45° x width dimension at 45°

-
- Set the speed to level 6.
- Connect the suction hose to the KAPEX and the mobile dust extractor.
- Only when using an M-extractor: Set the suction hose diameter.
Using the bevel provided, the corner angles can be measured quickly, allowing you to cut the profiles along the line bisecting the corner angle. The image shows the reduction of the corner angle of an internal corner.
-
Open the clamp lever for the mitre angle on the saw table (horizontal).
Push the locking lever for the pre-set horizontal mitre angle downwards, align the table with the scribe mark on the bevel and push the clamp lever down again to secure it.
-
To do this, the dual-line laser integrated in the KAPEX must be switched on and aligned so that it is parallel to the printed scribe mark on the bevel. You can then begin to saw the cornices on the mitre.

-
Place the cornice against the workpiece stop and position it using the stop bar on the extension table. Secure the beading using the workpiece clamp before cutting. For proper positioning, the stops need to be brought very close to the saw blade.

-
Cut the matching angle on the adjoining strip using the same procedure. Once you have finished cutting the cornice, the strips can be stuck together and reworked.

-
Our illustrated guides and work results are documented working steps that we have performed in practice. They are individual examples and do not guarantee or promise that users will obtain the same results. The results will depend on the user's experience and skill, as well as the material being used. Illustrated guides do not replace any Festool operating manuals and/or safety instructions. Liability for ensuring that the information, instructions and applications are free from content defects and defects of title, in particular with regard to the absence of defects, correctness, freedom from third party intellectual property rights and copyrights, completeness and fitness for purpose, is excluded. Claims for damages made by the user, regardless of their legal basis, are excluded. These liability exclusions are not applicable if the damage was intentional or caused by gross negligence, or in cases of statutory liability.
We cannot accept liability for damage resulting from defects.↑


