


Sawing and copying wooden polygons

Description
Precisely copying and sawing regular polygons (triangles, hexagons, octagons, etc.) and irregular polygons can be made significantly easier using a bench-mounted circular saw.
These geometric elements can provide the finishing decorative touch to a room in the form of double panels for ceiling and wall cladding or for door panels.
But this solution is also extremely well suited when producing multiple plates of identical shapes and sizes.
The following material is required:
- Angle trim made by the user
- 12-16 mm MDF or plywood for the template
- Double-sided adhesive tape
Tools/accessories
Alternative tools
Preparation/set-up
-
The following preparatory steps must be completed on the circular saw and sawing equipment:
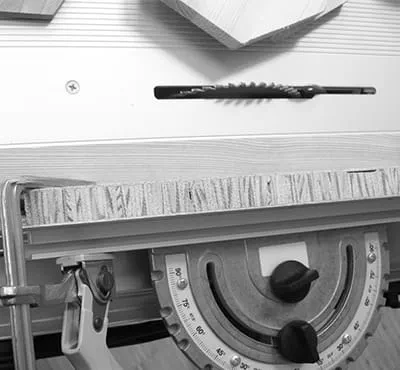
- First, remove the dust extraction attachment and push the spacer wedge into the bottom position.
- Next, produce an angle trim with limb lengths of 40 x 60 mm.
Tip: You can just use an 80 cm long leftover piece of old door cladding.
-
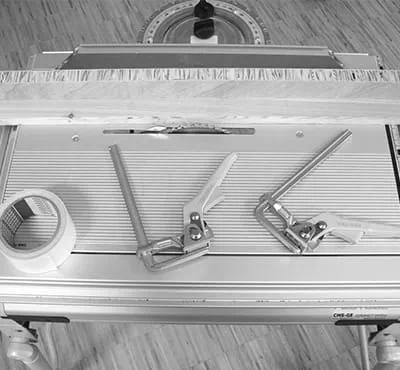
Secure the strip to the angled stop on the bench saw using two lever clamps. When doing so, ensure that there is a gap of approx. 3 mm between the angle strip and the workpiece.
-
Adjust the height of the saw blade so that it is slightly under the angle strip. The saw blade should not touch or damage the strip.
-
To produce exact 1:1 copies, the edge of the angle strip must be exactly the same as/flush with the saw blade. To make sure that this is the case, the angle strip is pushed over the saw blade using the angle stop so that it is flush with the side surface (saw teeth) of the saw blade. In the same way, of course, the parallel side fence can be pushed in order to produce larger or smaller template copies. This allows you to create larger or smaller copies of a wooden polygon in no time at all. We recommend trying out sawing at different distances using a leftover piece of material.


Procedure
-
To begin, create an exact template of the polygon you want to produce (e.g. using 12–16 mm thick MDF panels).
The panels that you want to copy should be approx. 10–20 mm larger. These panels can easily be "roughly" cut into the shape of a polygon using the jigsaw. Next, secure the template on top of the wood using double-sided adhesive tape. When securing the template, avoid using tape that is too large or too strong, so that you can easily separate the parts later.
Tip:Instead of adhesive tape, you can use screws to secure the template, if one side of the finished product will not be visible.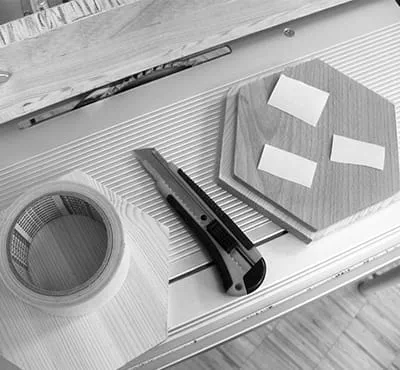
-
The copying principle is as simple as it is clever:
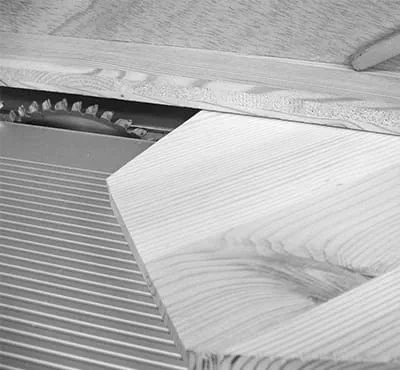
While the template is being guided along the angle strip, saw off the protruding edge of the panel so that it is the same size as the template. This method can be used to perfectly copy any type of straight external corner without having to mark each polygon individually. Internal corners and curved edge contours cannot be copied using this method; a router must be used for this purpose.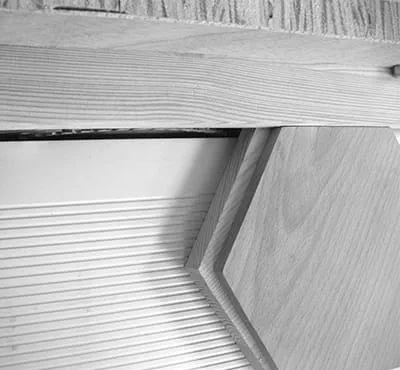
-
It is important that the template is held against the angle strip and guided precisely along it. This prevents any inaccuracies on the edges of the workpiece. However, if the first cut does not produce results that are as precise as you would like, all you need to do is guide the template along the angle strip again. You can repeat this process as many times as you like while the template is secured to the workpiece.
-
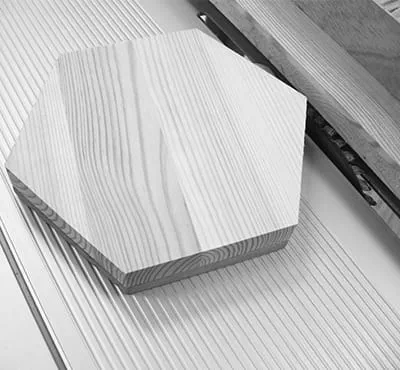
Only separate the template and the workpiece when you are completely satisfied with the results. This image shows an exact 1:1 copy of an octagon. Once you have created a template for the shape you want, it takes only a couple of minutes to saw an exact copy out of wood. And of course, any additional panels that you saw will also be exact copies. The accuracy of this method cannot be reproduced using any other technique in this short a time.
-
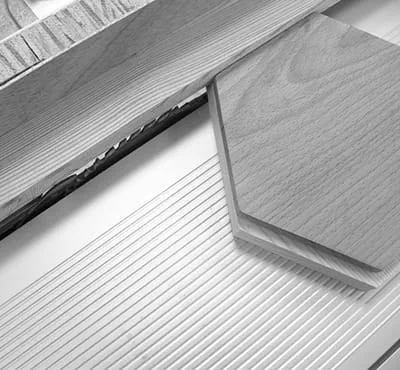
To produce a cut-out that is smaller than the template, all you need to do is move the parallel side fence and angle strip away from the saw blade. The distance between the angle strip and the outer edge of the saw blade determines how much smaller the cut-out will be. By rotating the workpiece and template, you can see the offset between the template and workpiece when reducing the size.
In this step, the underside of the template will be slightly scratched by the saw blade. However, this has no effect on the use of the template in the future for creating 1:1 copies or enlarged copies. As long as the edge of the template is not damaged, it can be used again as a guide for the angle strip.
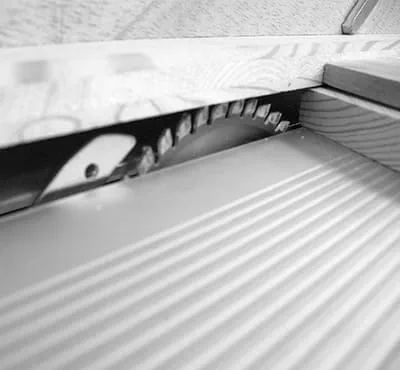
Important: In this step, it is important to ensure that the top of the tool is covered. This can be done by screwing a Plexiglass strip onto the angle strip. (Removed in the image)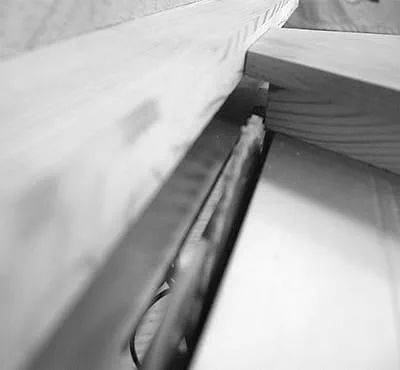
-
When enlarging the workpiece, the angle strip is simply pushed further outwards over the saw blade. This allows you to produce copies that are up to 6 cm larger or smaller than the original without having to create additional templates. This method therefore enables you to saw a wooden polygon of any size and work quickly and precisely using the templates.


-
Our illustrated guides and work results are documented working steps that we have performed in practice. They are individual examples and do not guarantee or promise that users will obtain the same results. The results will depend on the user's experience and skill, as well as the material being used. Illustrated guides do not replace any Festool operating manuals and/or safety instructions. Liability for ensuring that the information, instructions and applications are free from content defects and defects of title, in particular with regard to the absence of defects, correctness, freedom from third party intellectual property rights and copyrights, completeness and fitness for purpose, is excluded. Claims for damages made by the user, regardless of their legal basis, are excluded. These liability exclusions are not applicable if the damage was intentional or caused by gross negligence, or in cases of statutory liability.
We cannot accept liability for damage resulting from defects.↑