
























Chat with a Festool expert for any product related questions.
Dovetail joint

Description
The dovetail joint is an effective wood joint used in timber construction to connect secondary beams to primary beams. This example demonstrates how to create a joint between rafters and the ridge purlin using the OF 2200 router and a LIGNATOOL routing jig.
Machines/Accessories
Prepare/Set Up
-
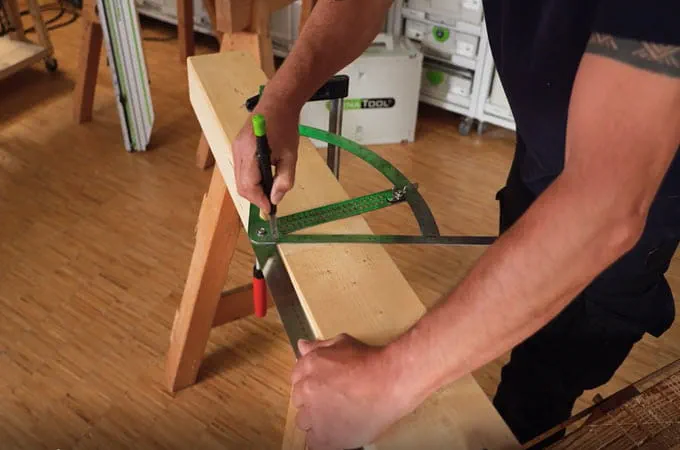
Marking the rafters
-
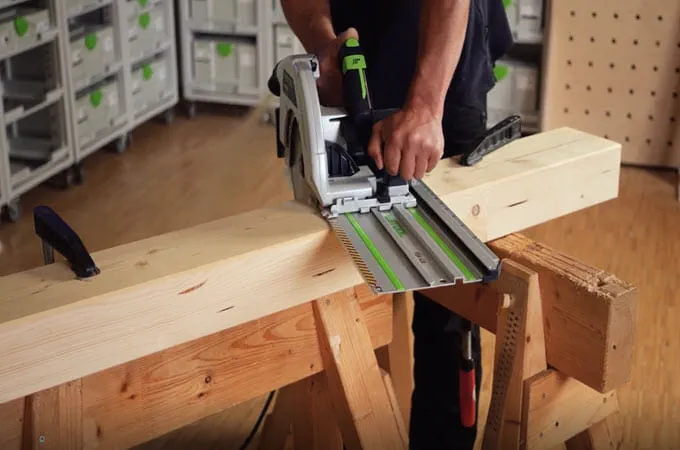
Rafter Cutting
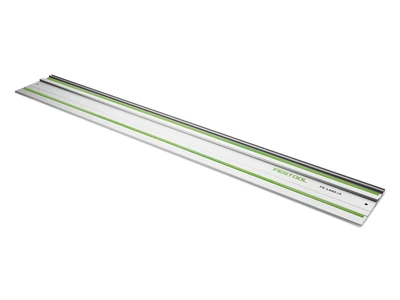
The rafters are cut to size using the crosscut rail.
-
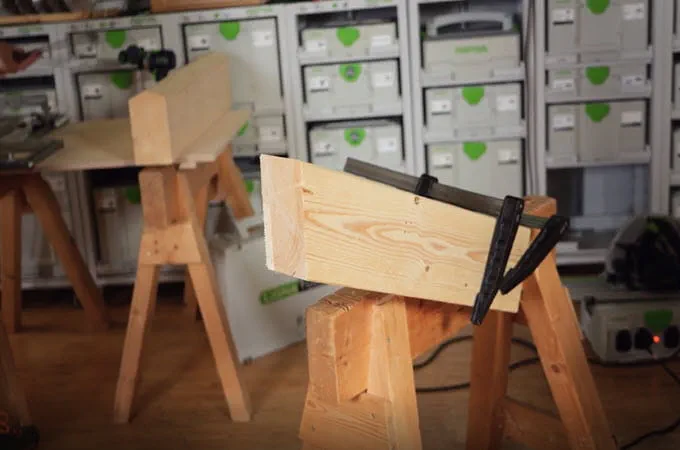
Secure the rafters
The rafters are secured with screw clamps to prevent them from slipping.
-
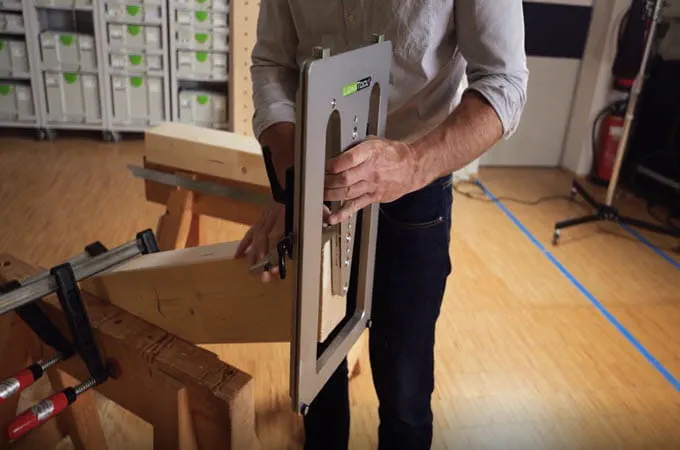
Adjusting the milling jig for the tenon
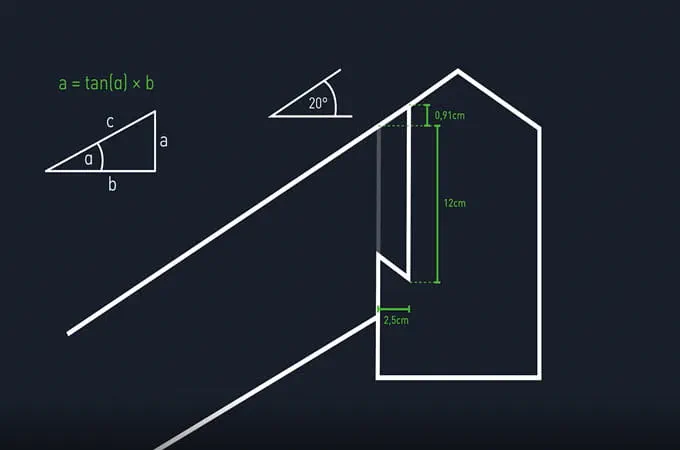
On the template, the stop arms must be adjusted to match the roof pitch and the tenon length. Therefore, the angle is first measured and recorded directly on the rafter.
-
Adjust the pin length on the template
In our example, the tenon length was 12 cm plus a difference of 9.1 mm. The difference is calculated using the tangent function. It depends on the length of the tenon and the roof pitch.
-
Mounting a mortise template on rafters
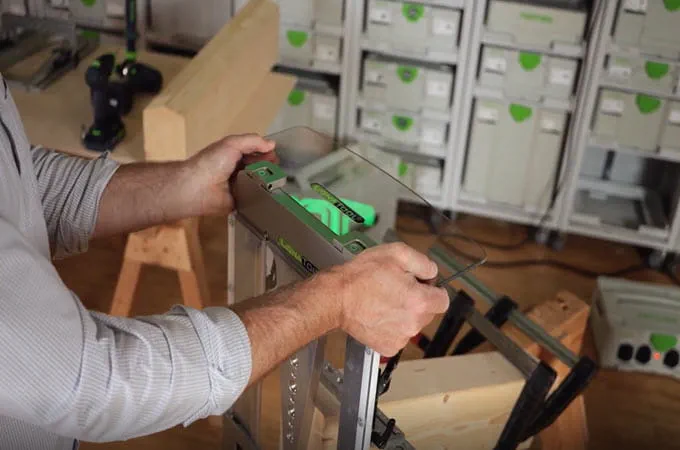
The jig can now be mounted on the rafters. The jig is secured to the workpiece with screws. In addition, the guide slides and chip guards are installed.
-
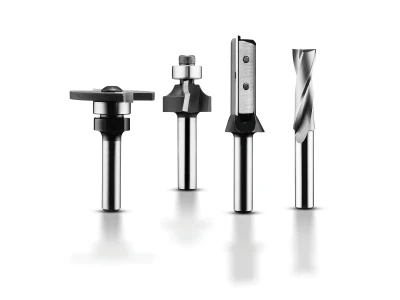
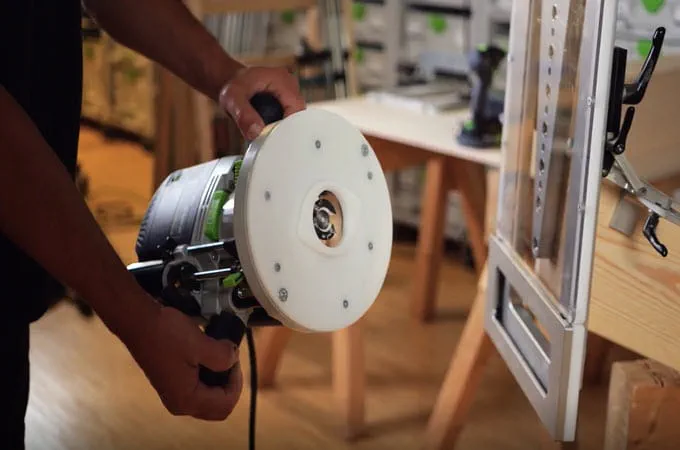
Equip the router with a guide plate and a router bit
The OF 2200 router comes equipped with the base plate and the router bit.
-
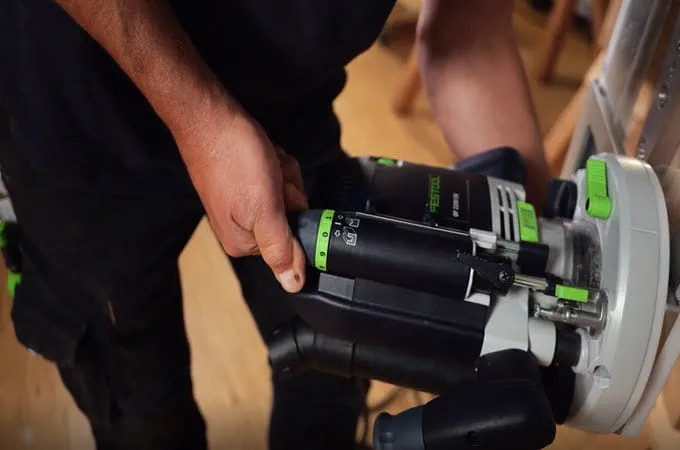
Adjust the milling depth
The router is attached to the jig, and then the cutting depth is set. In our example, the cutting depth is set to 25 mm. The fine-tuning feature, which allows for adjustments accurate to a tenth of a millimeter, is particularly convenient.
Procedure
-
Perform a milling pass (tenon)
Now the first milling operation can be performed. It is always advisable to perform a test milling on both elements and then check the fit.

-
Completed milling of the tenon
First, mill along the edge to prevent chipping, and then mill out the inner area.

-
Adjusting the Pin Hole Template
The template is adjusted to match the roof pitch by placing the stops against the bevel and securing them accordingly.

-
Adjusting the Shank Length
Once the roof pitch has been set (20° in this case), the tenon length can be adjusted (12 cm in this case).

-
Secure the template to the purlin
The template is positioned against the axis mark and secured with a locking screw.

-
Perform a milling pass (tenon hole)
Once the guide carriage and chip deflector have been installed, the milling cutter can be mounted on the carriage. The milling operation is then performed. The milling depth is maintained.

-
Completed milling of the tenon hole
Milling is done in a clockwise direction. To prevent the material from tearing, start by milling briefly on the right side and then switch to the "correct" side. Here, too, it's best to do a test cut first.

-
Attaching Rafters to the Ridge Purlin
After a test cut has been made on the tenon and mortise, all the cuts can be made and the parts assembled. The rafter is simply hooked into the mortise via the dovetail tenon and fitted into place using a heavy rubber mallet.

-
Secure the connection to prevent it from coming loose
A locking screw inserted at an angle secures the rafters against slipping out, and the connection is complete.

-
Completed connection
The finished dovetail joint is a very strong connection that allows for quick assembly. In addition, it requires virtually no metal fasteners. And the best part is: it looks great, too.
