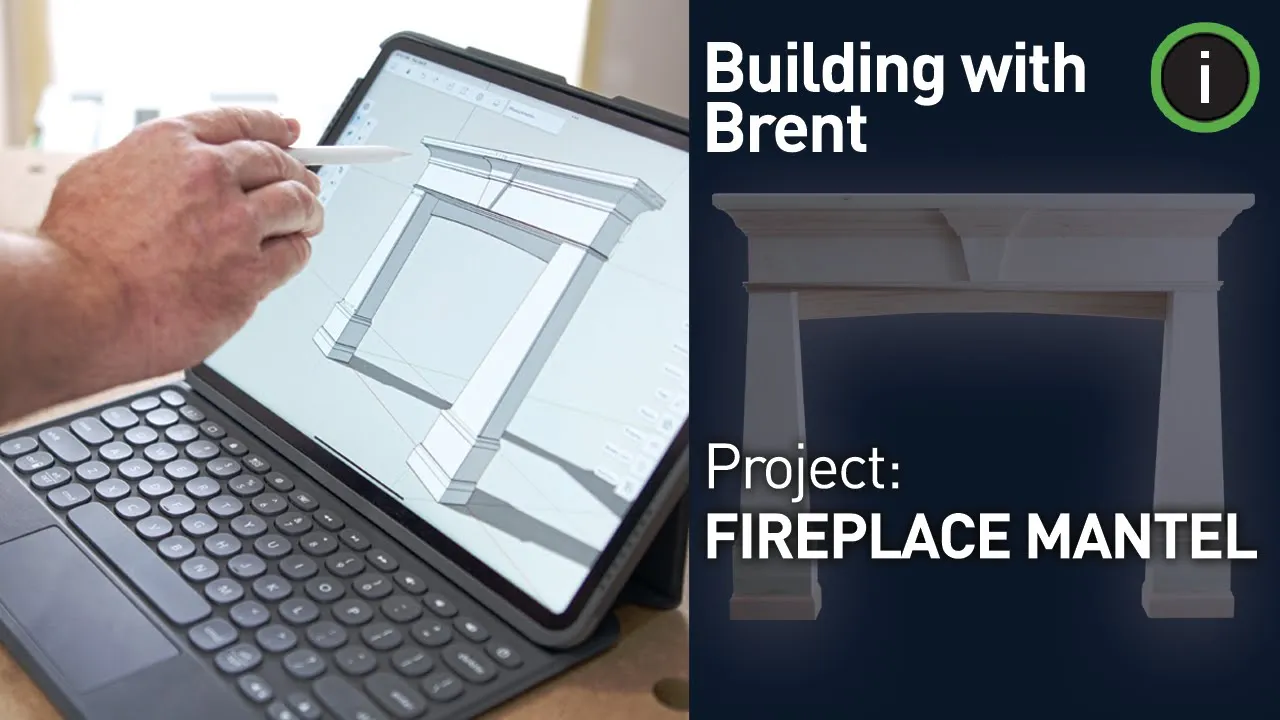


Watch this step-by-step video.
To download project plans, create an account or log into MyFestool.

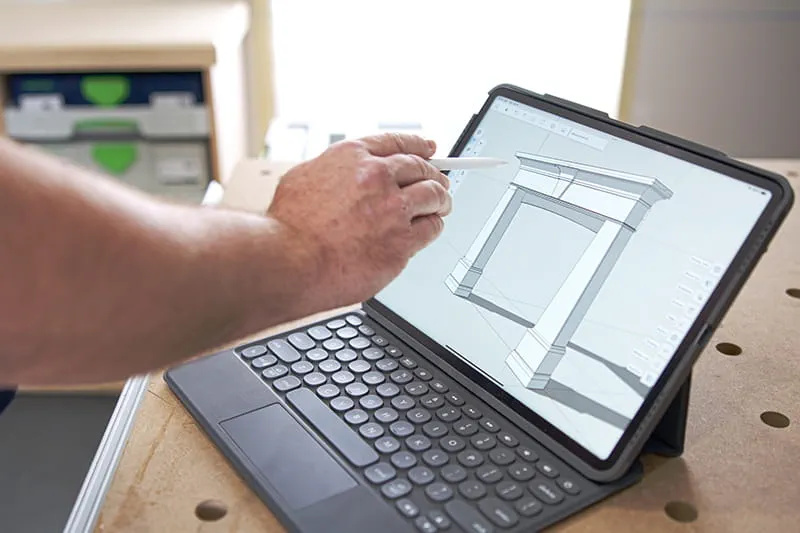
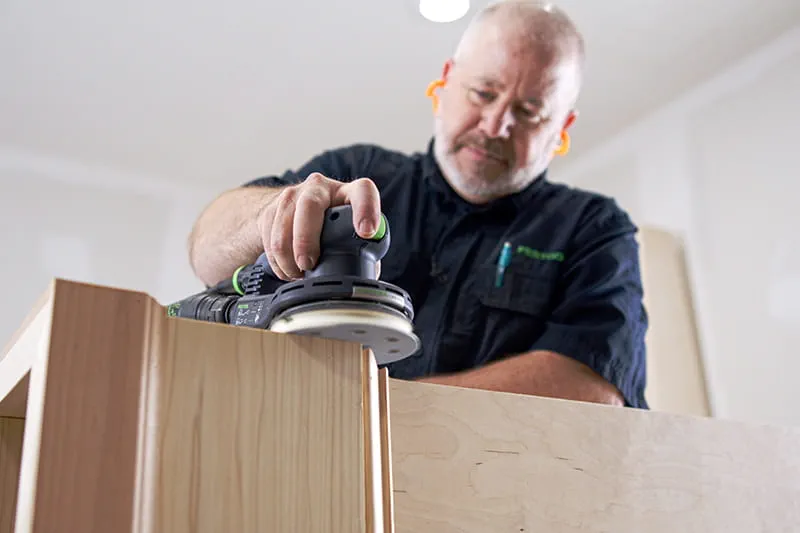
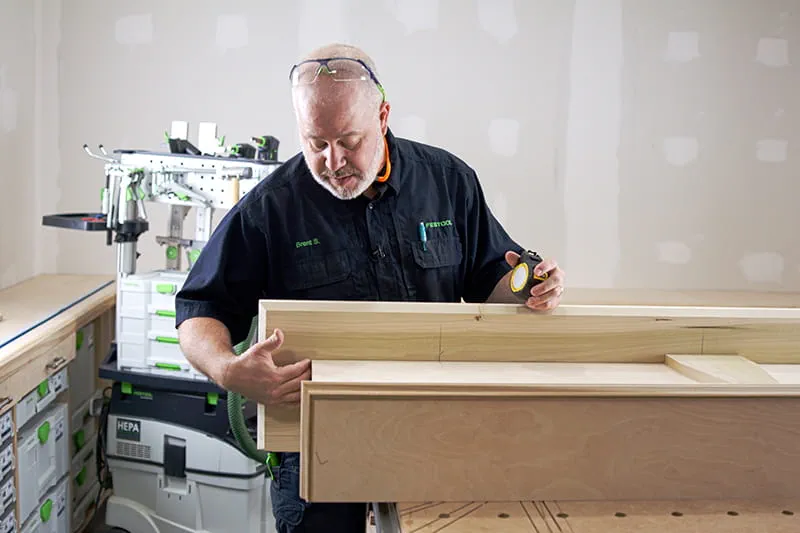
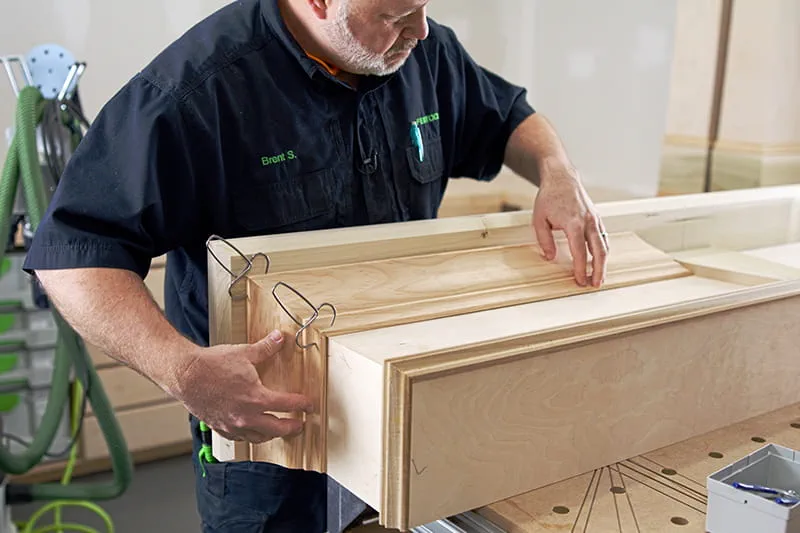
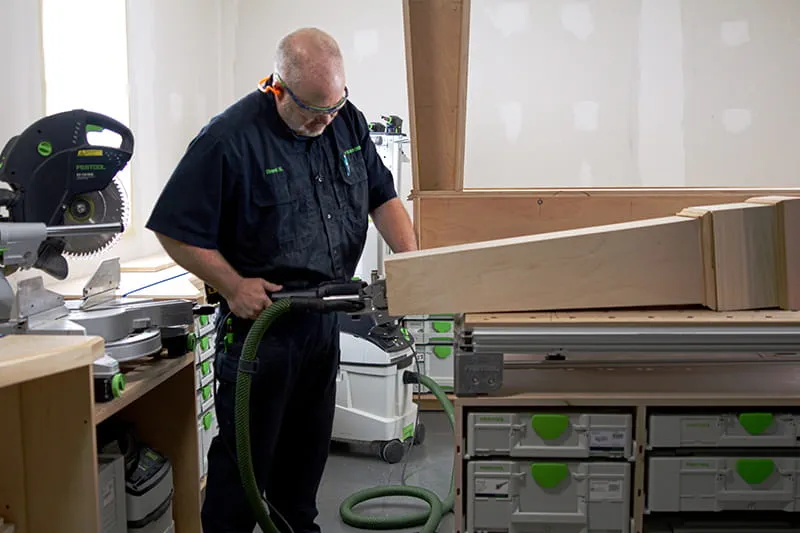
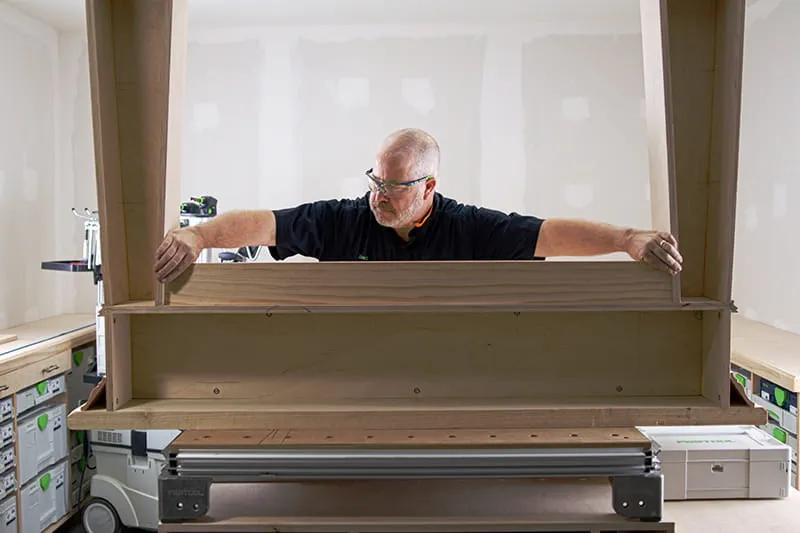
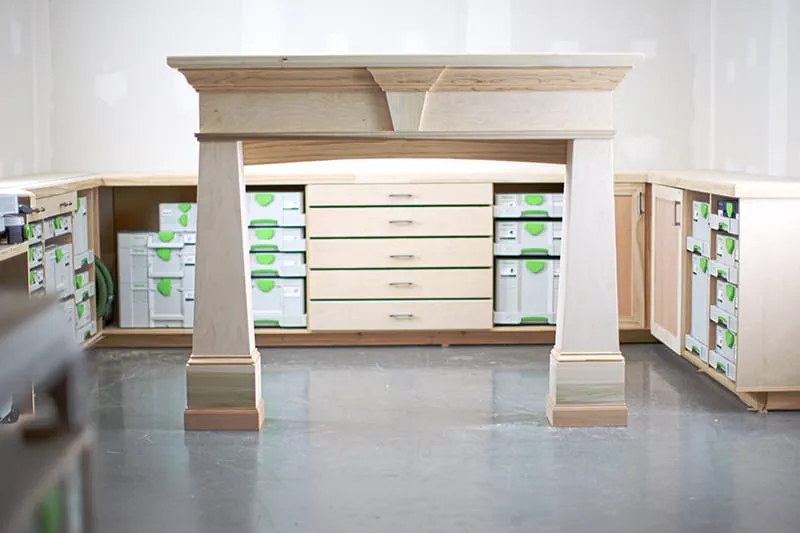
Built By Hand Fireplace Mantel Surround
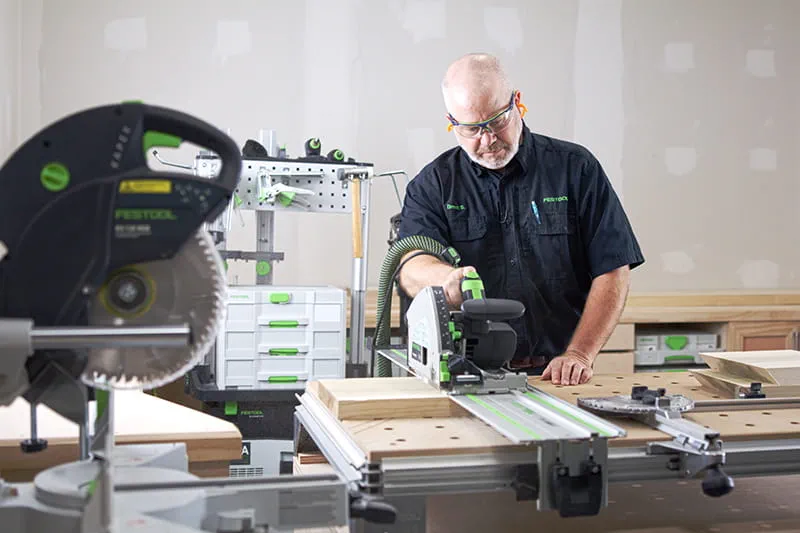
A fireplace mantel is more than just a functional element - it's the centerpiece of your living room, a place to showcase your style, and a cozy hub for gatherings. Building your own mantel surround saves money and allows you to create a truly personalized design that suits your space and aesthetic. This guide will show you how to build a custom fireplace mantel surround using Festool tools, which are known for their efficiency and precision - perfect even for small home workshops.
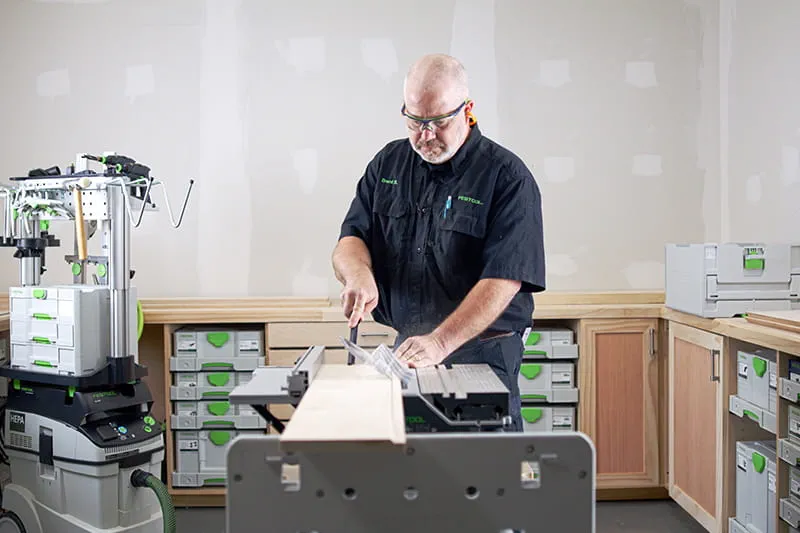
Skill Level:This project is best suited for those with an intermediate level of woodworking experience. Comfort and familiarity with power tools and woodworking techniques are essential.
Materials Needed:
Watch this step-by-step video.
To download project plans, create an account or log into MyFestool.