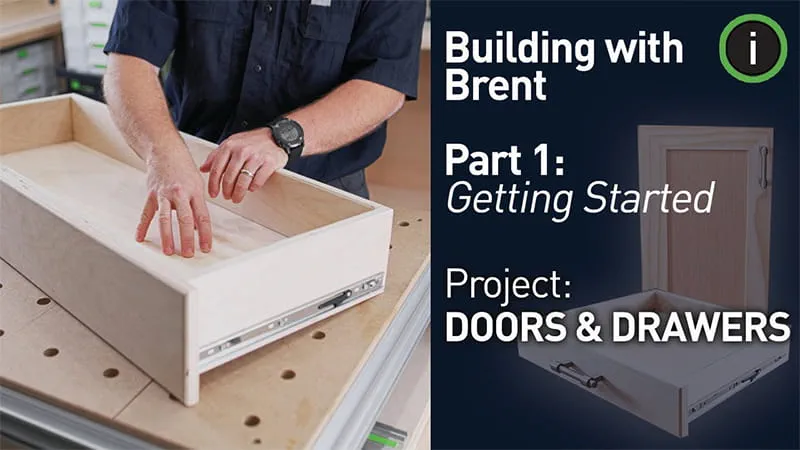


Watch this step-by-step video.
To download project plans, create an account or log into MyFestool.

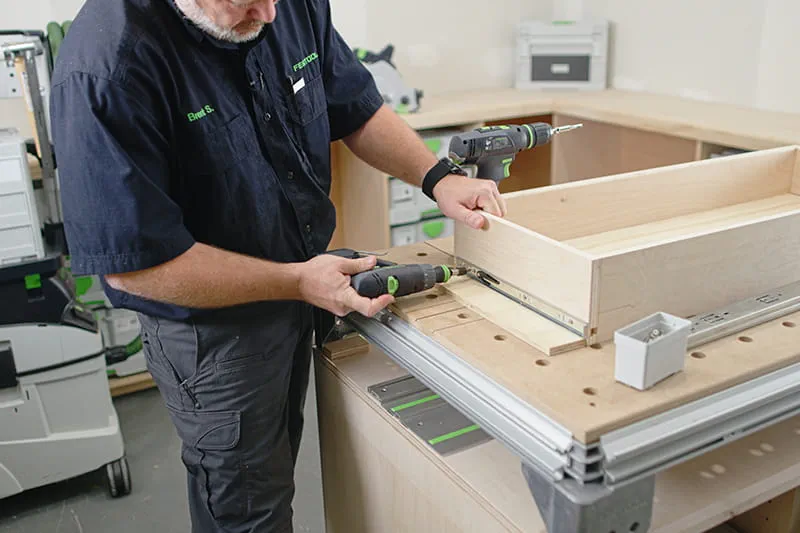
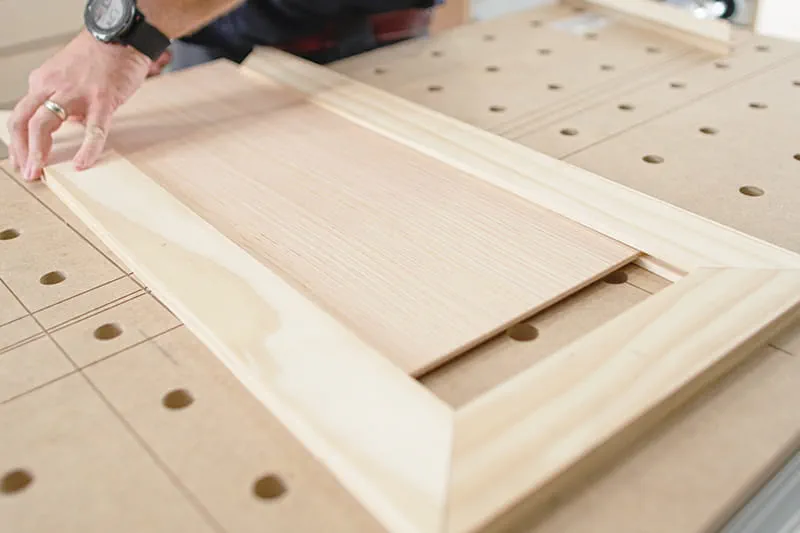
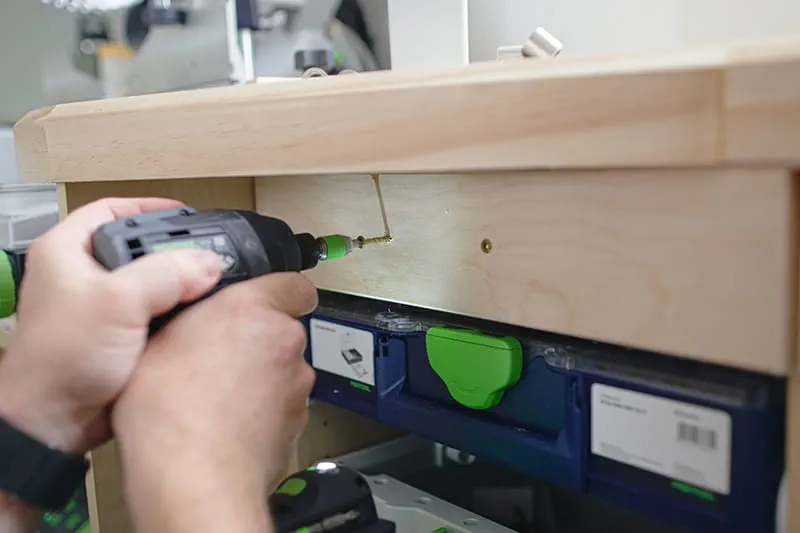
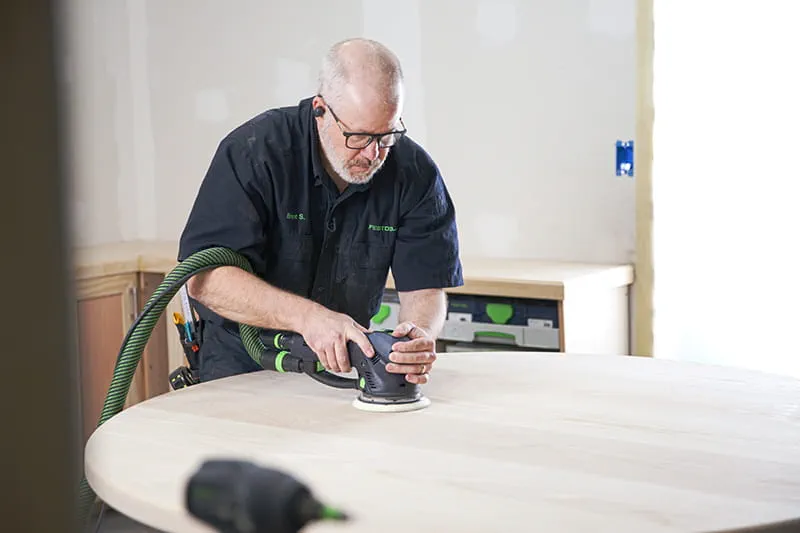
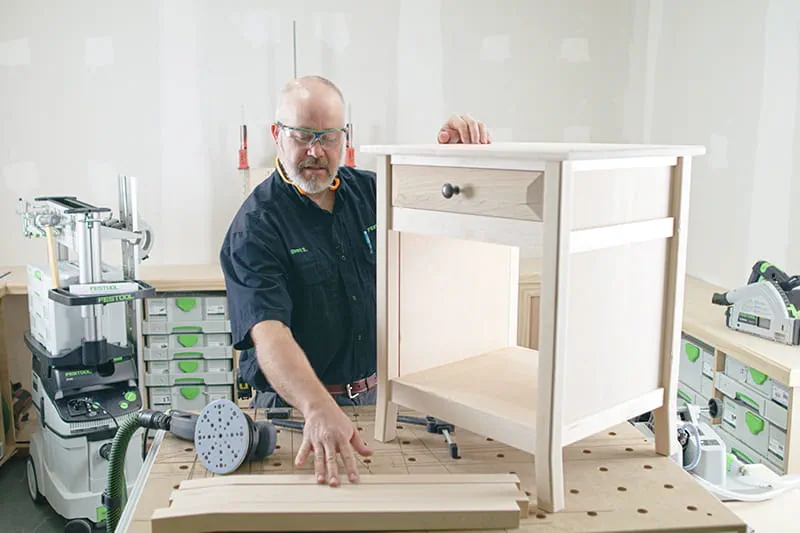
Unlock the secrets to flawless cabinet construction.
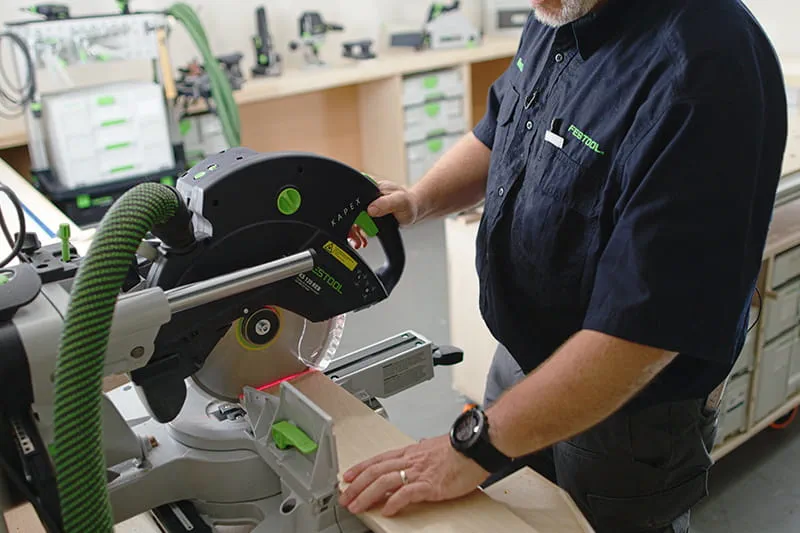
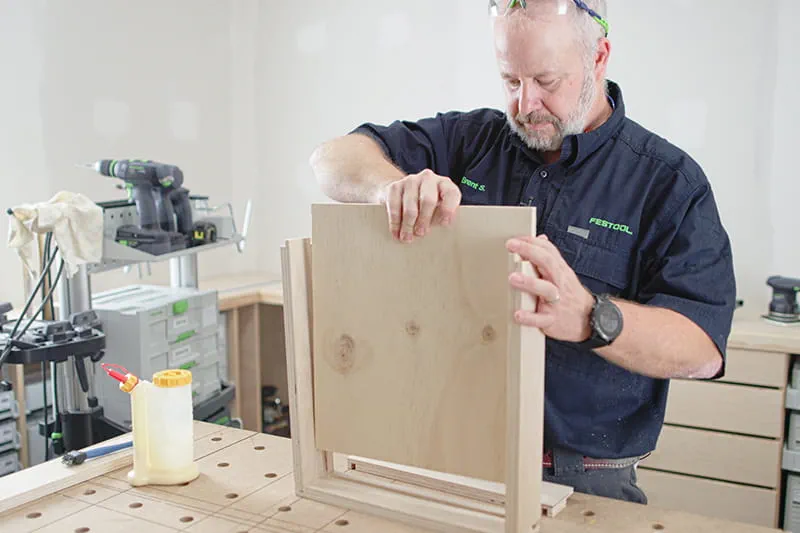
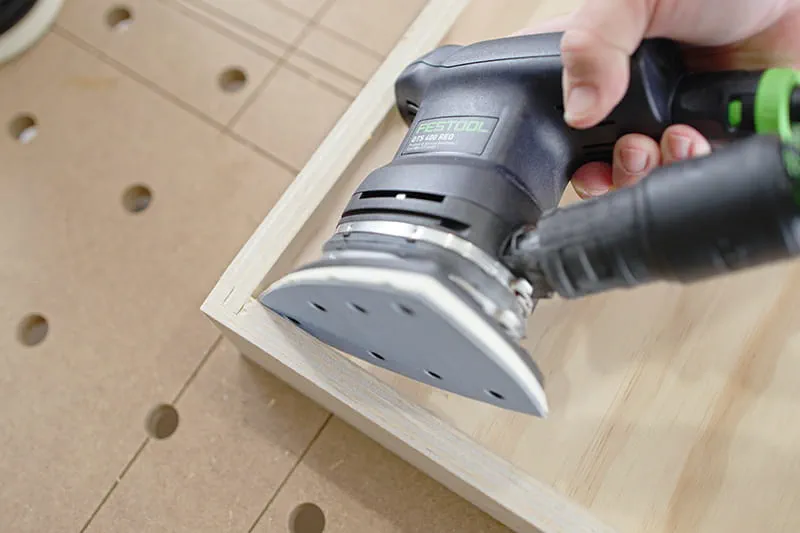
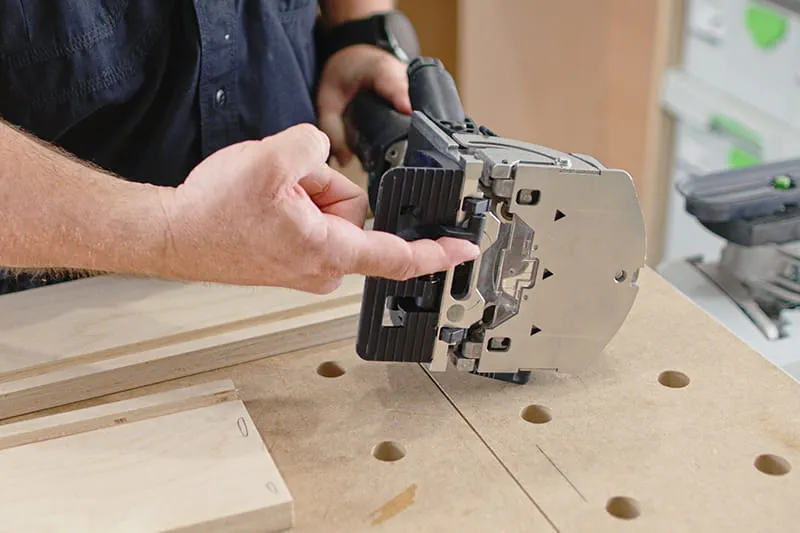
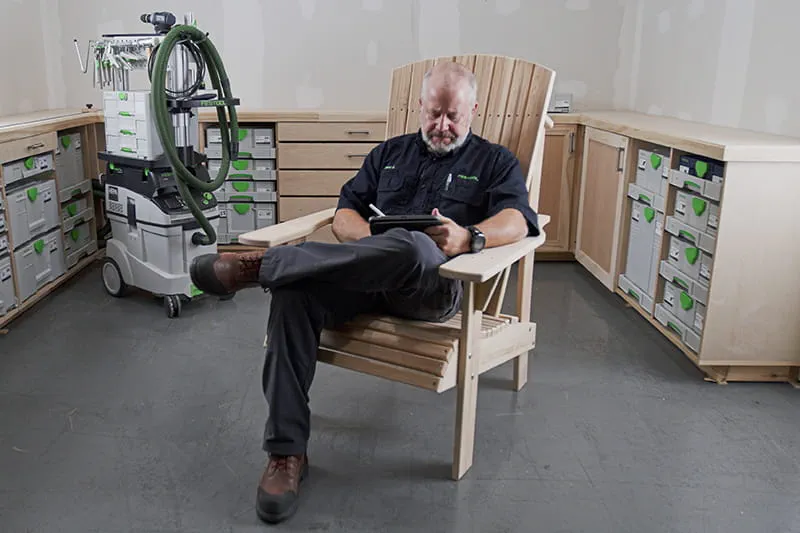
Skill Level: This project is best suited for those with an intermediate level of woodworking experience. Comfort and familiarity with power tools and woodworking techniques are essential.
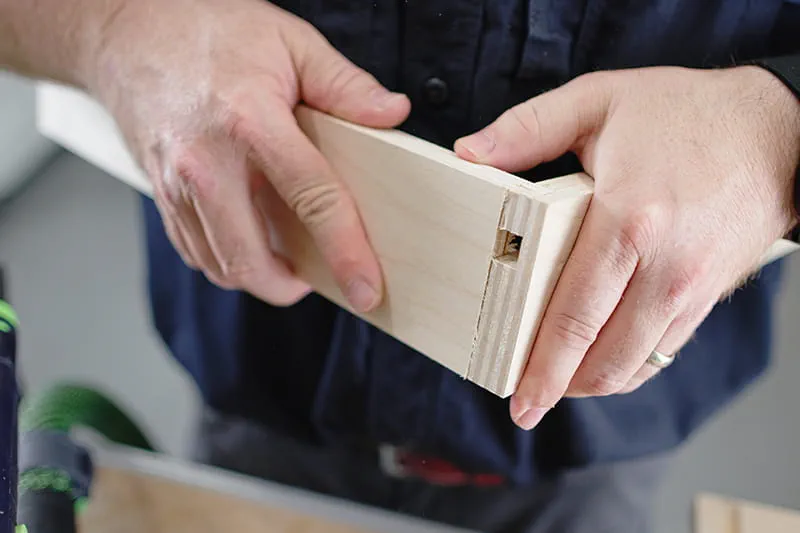
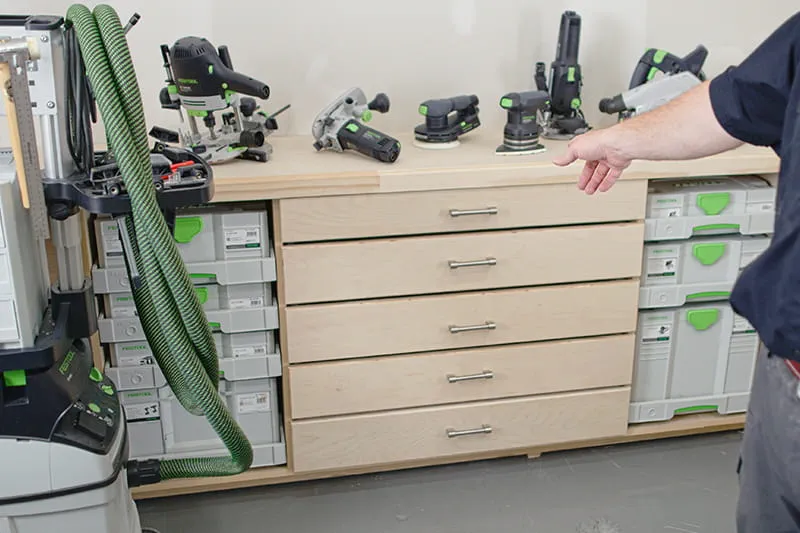
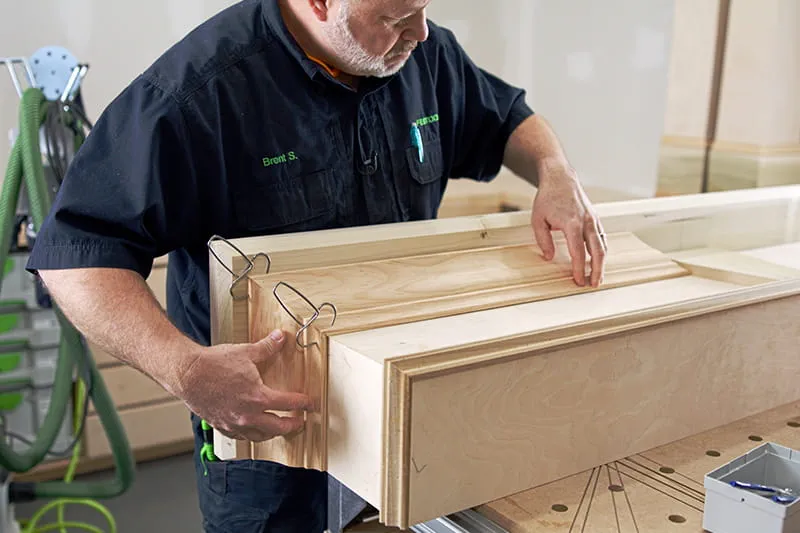
Materials Needed: For this particular build, I opted for birch plywood for its smooth finish and durability, making it ideal for the cabinet body. The rails, stiles, and drawer fronts were crafted from pine, chosen for its ease of use and appealing grain, though materials may vary depending on your specific application.
Watch this step-by-step video.
To download project plans, create an account or log into MyFestool.